Finder can be customised to suit the way you work, reducing the steps required to carry out repetitive tasks.
You don’t need to memorise these steps. Just scan through this section to find the features that are useful to you.
Preferences
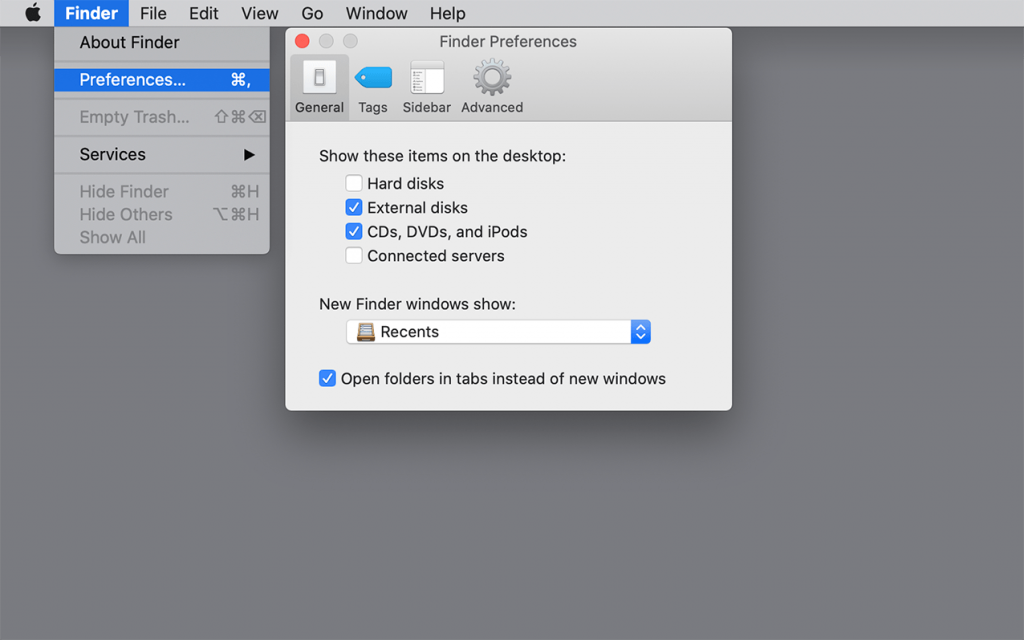
As with all applications, most customisations are set within its own Preferences window. To view Preferences, choose Preferences from the application menu.
Set new Finder windows to display your Home folder.
By default, when opening a new Finder window it presents us with Recents: a single view of your most recently accessed files..
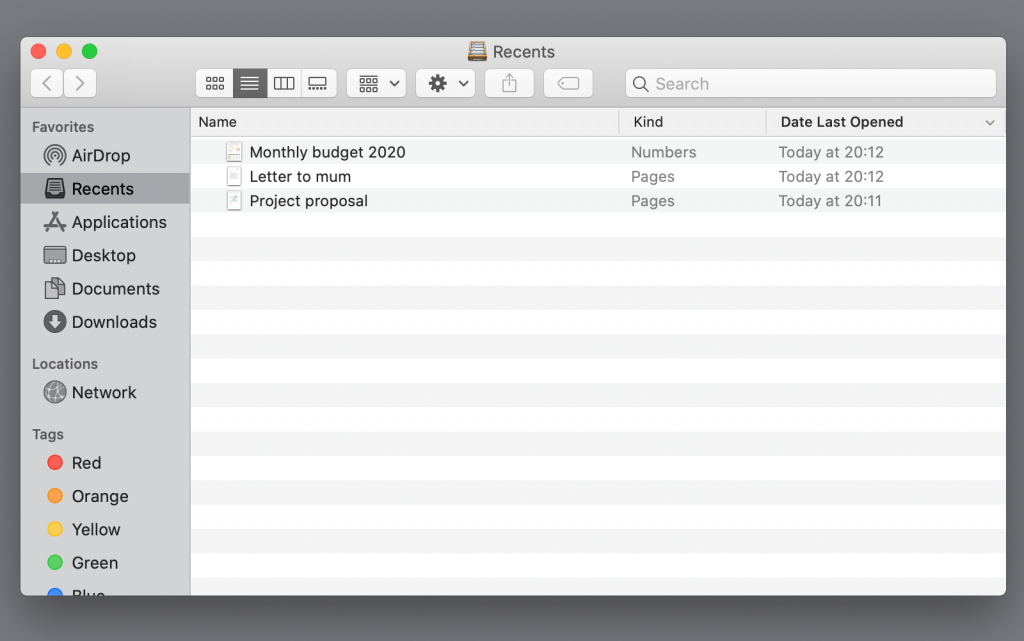
Recents isn’t a ‘real’ folder, more of a ‘smart’ folder, bringing files from various locations into a single view. This can be useful, providing quick access to the files you need. But it can be a source of confusion. And, now that you know our way around the Macintosh HD, it may be preferable for new Finder windows to display a different location, such as your Home folder, instead.
Choose Finder->Preferences from the menu bar.
Under General->New Finder windows show: choose your Home folder.

Add folders to the sidebar.
If you have a folder buried away that you frequently access, you can add it to the Finder window’s sidebar. There’s two ways to do this.
- Choose the Sidebar tab at the top of Finder’s Preferences window. From the available options, tick the folders you want to appear in the sidebar. For example, ensure your Home folder is ticked.

2. To add other folders, such as folders you’ve created yourself, you’ll need to drag them into the sidebar. Ensure that you drag the folder between existing items, not on top of them!

Display the path to your current location
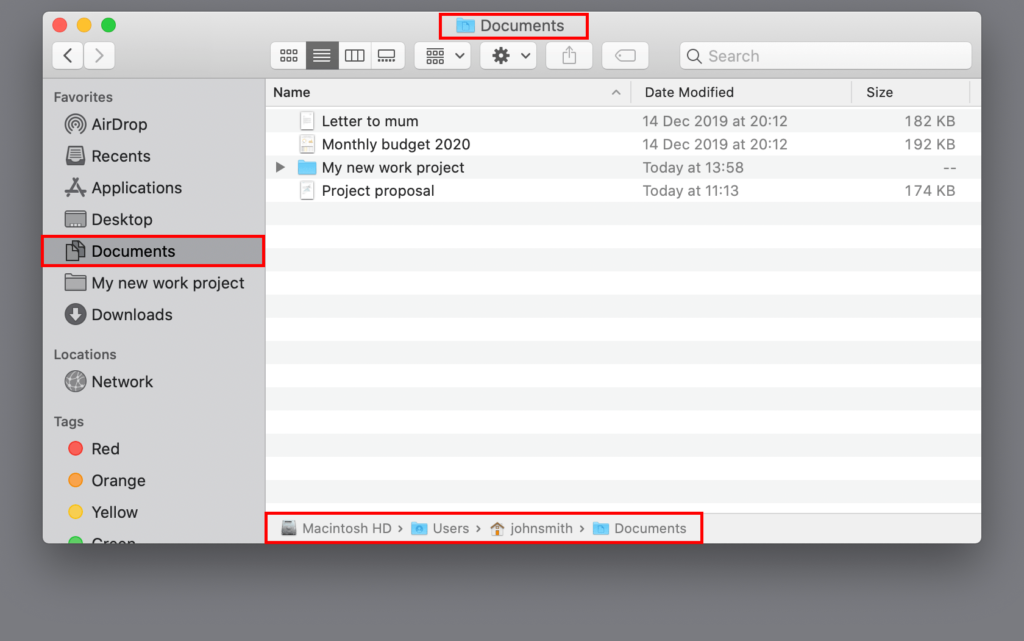
All files and folders have a unique ‘address’, called a path. It’s helpful to see the path to your current location in a Finder window.
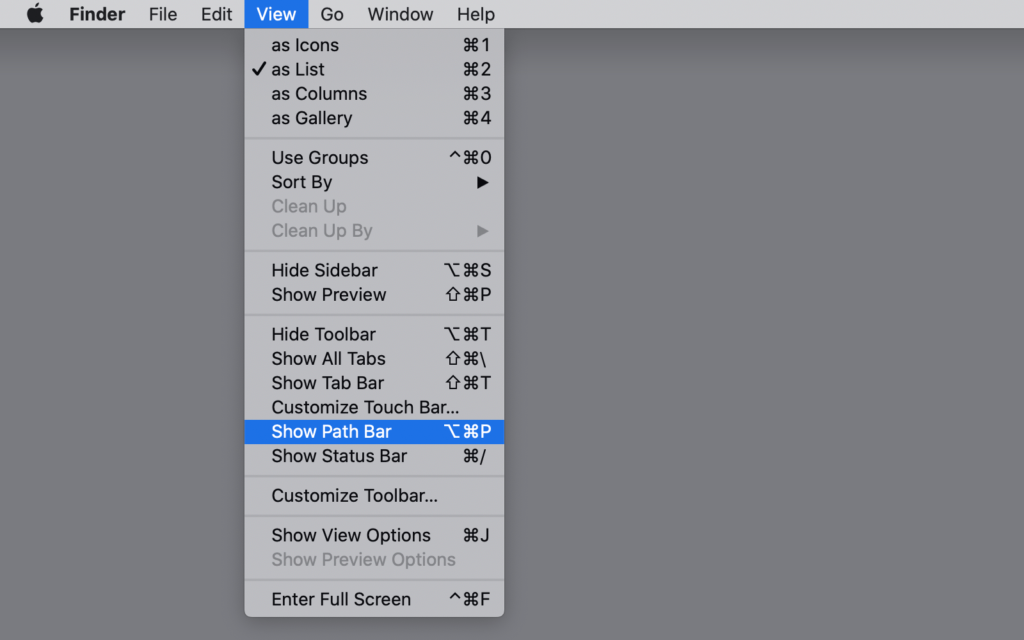
To display the Path bar along the bottom of Finder windows:
Choose View->Show Path Bar from the menu bar.
To see the Path Bar in action, try clicking your Home folder in the sidebar, the Path to its location will be displayed along the bottom edge of the window.
Change your desktop background.
To further personalise your environment, you can change the desktop background, via System Preferences (or, System Settings, and search for Wallpaper..):
From the Apple menu, choose System Preferences.
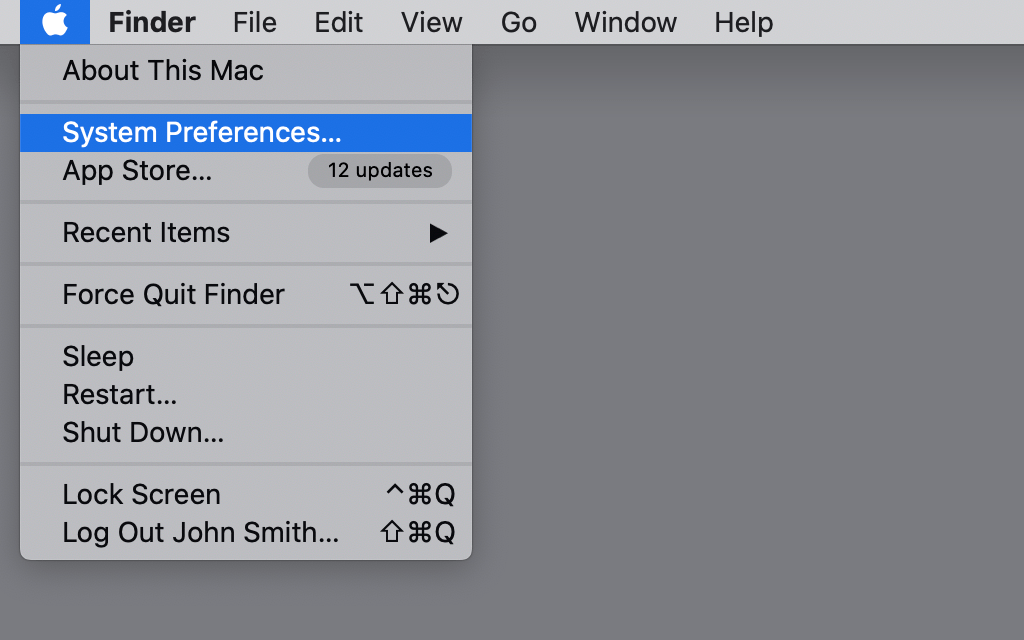
In System Preferences, choose Desktop & Screen saver.
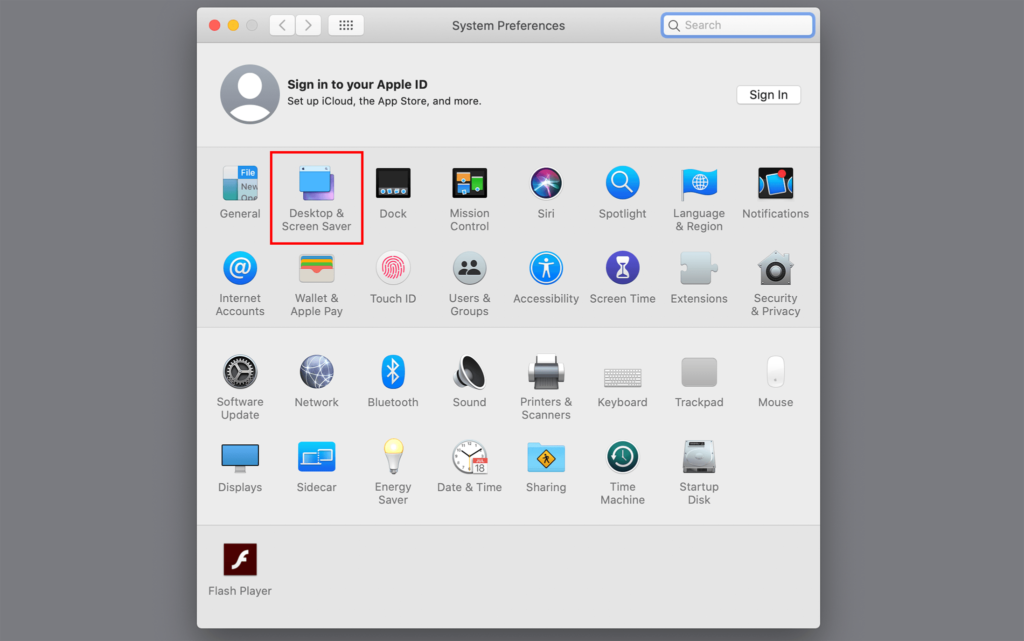
Select Desktop near the top of the System Preferences window, and experiment with the various desktop pictures in the column on the left.

Always show scroll bars.
In order to reduce clutter and distraction, scroll bars, are hidden when not in use. This can cause minor difficulties and confusion. To set scroll bars to always be on display:
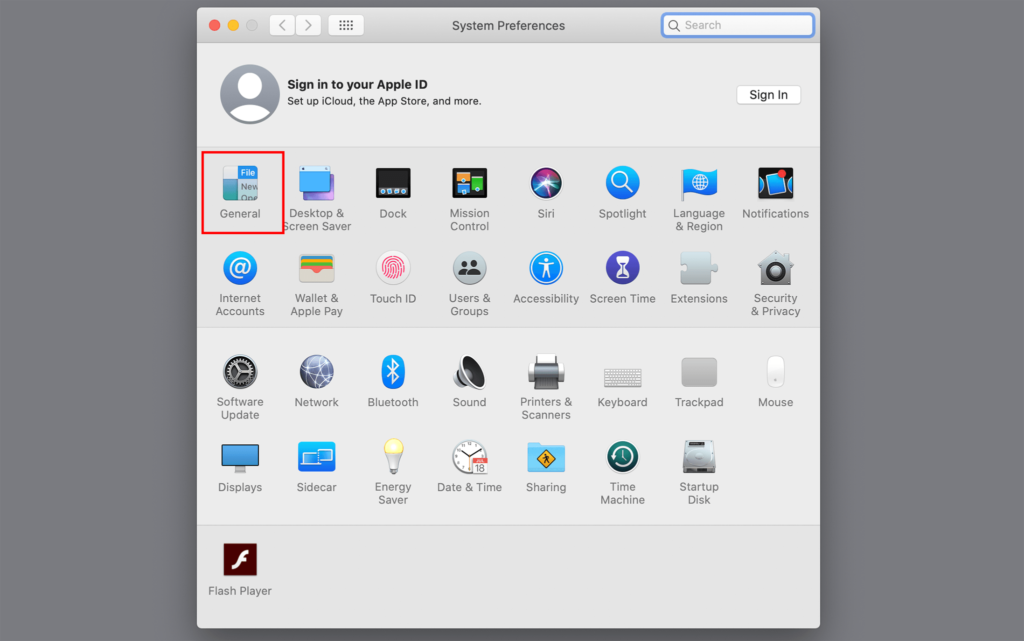
From the Apple menu, choose System Preferences, and then choose General.
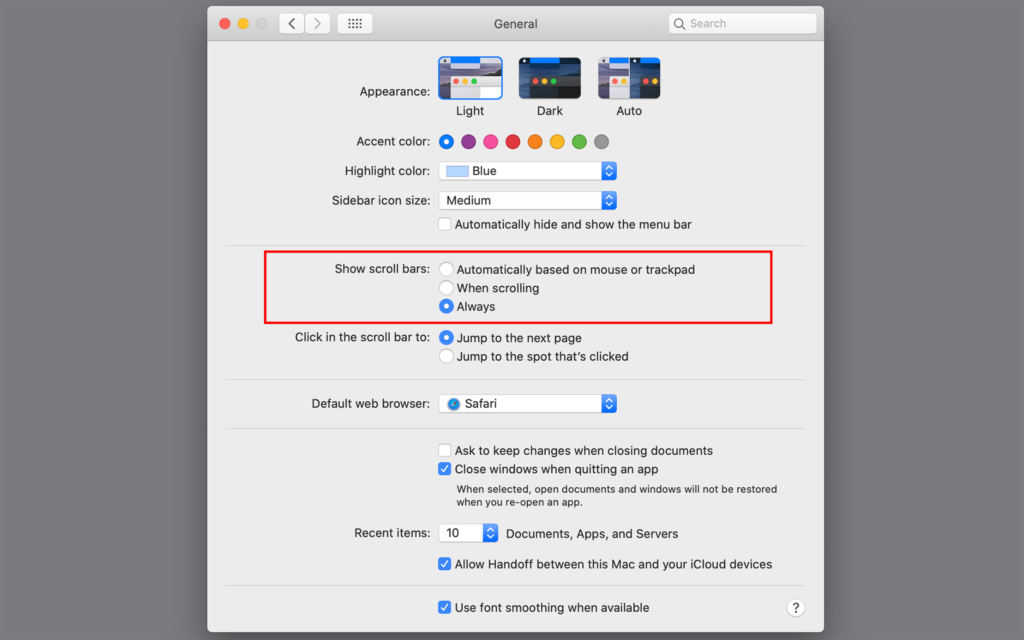
In the section, Show scroll bars, select Always.
View Options.
View options are too numerous to list, but once you’ve accumulated lots of files, you’ll appreciate the fine control provided by these useful features. Below is a quick overview.
In Finder, close any windows you have open and choose View->Show View Options from the menu bar.
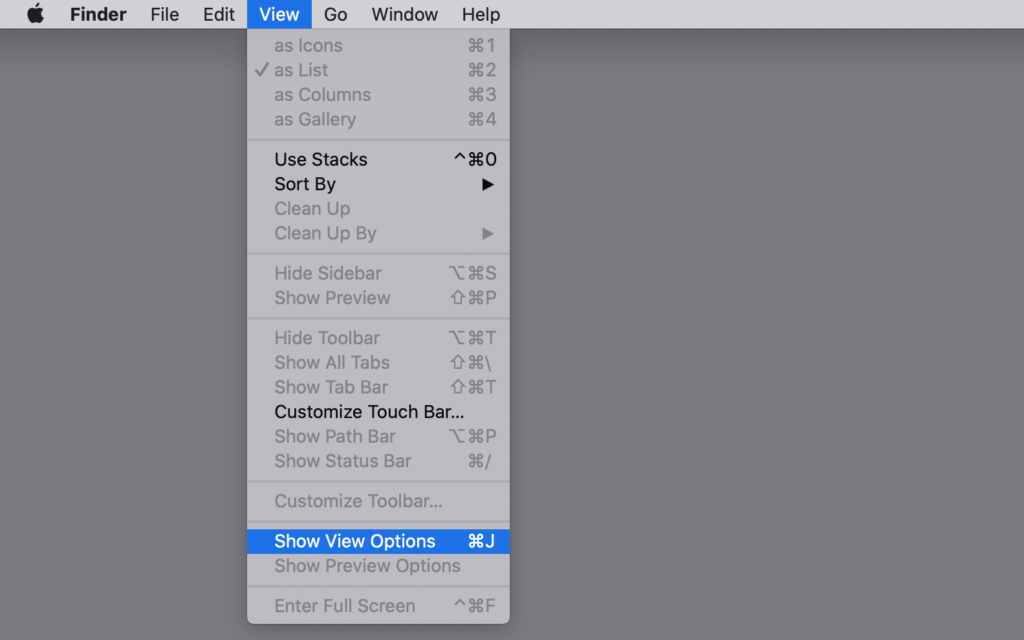
There are separate options for items displayed on the desktop, such as the size, and spacing of icons.
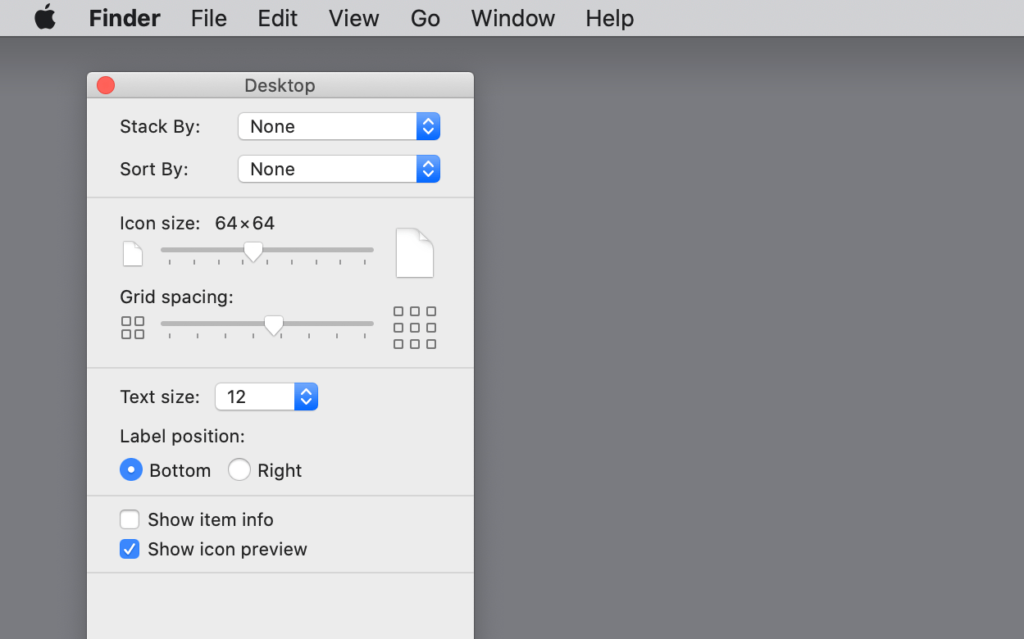
Now open a new Finder window.
In the screenshot above the ‘floating’ View options window now relates to the active Finder window, currently set to Icon view. Note the View options in the screenshot above (e.g. icon size, spacing…).
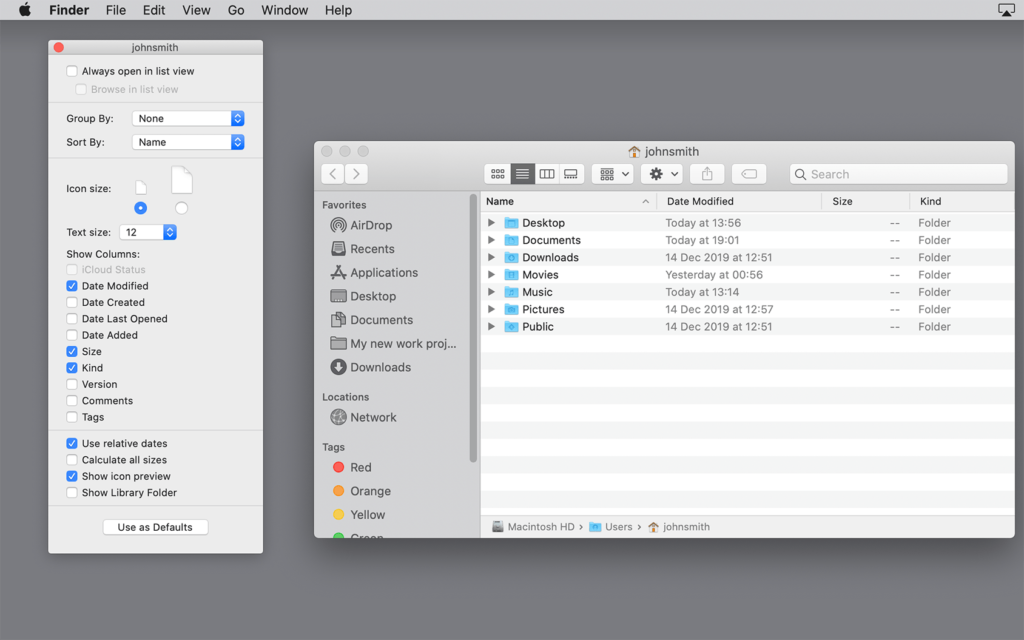
If we change the Finder window to List view, we’re presented with options specific to List view that allow us to add additional columns.
Don’t worry, it’s a lot to take in. Just note that these options are available and, when you find a need, you can experiment and familiarise with them.
| Previous lesson: | Next lesson: |
| Using Finder to create folders | The Info window |