We all learn the hard way: the computer has a break down, data is lost forever, and wish we had a backup.
If your data is stored with a cloud service such as iCloud or Dropbox, you should not consider this a backup, but instead, more of a safety net.
A proper backup will initially copy the contents of the device in its entirety, and will then continue backing up both new files, and any files that have been modified. Therefore, if you’ve been working on a single document over the course of 6 months and, for whatever reason, realise you need to restore the document as it was 3 months ago, with a proper backup you can restore a document from a specific point in time.
Apple computers come preinstalled with their own backup app called, Time Machine.
Prerequisites
You will need a cheap, external hard drive to connect to your computer (it doesn’t need to be a ‘high performance’ hard drive).
This hard drive will be dedicated to the backing up the computer – therefore, it shouldn’t be used for storing other files!
An USB hard drive will do fine, although depending on the model of your computer, you may need to use an adapter to connect it. So check whether you have USB-A, or USB-C ports on your computer, and find an appropriate USB or USB-C hard drive for your computer.
The storage capacity of the external hard drive should be more than your computer’s storage capacity, so it can backup your computer in its entirety, and have some ‘headroom’ to store the data that you’ll generate over time. There’s little difference between the price of a 2TB and 4TB hard drive, either of which will be more than enough for most people.

Setting up Time Machine
Connect your new hard drive to the computer.
Note: At this point, sometimes you’ll be prompted, ‘Do you want to use [name of your new hard drive] to back up with Time Machine?‘
All you need to do is click the Use as Backup Disk button on the right, and the setup is complete!

Encryption
Notice the Encrypt Backup Disk tick box: whether or not you have any sensitive information on your computer, it’s a good idea to tick this option, in case the drive is lost or stolen.
The downside of using encryption is it you’ll be prompted to create a password for the hard drive, and it takes longer to backup. Even if you choose a password that you’ve used elsewhere, it’s better than nothing.
Finally, click Use as Backup Disk.
Or, if you weren’t prompted to use your drive as a Time Machine backup then, read on.
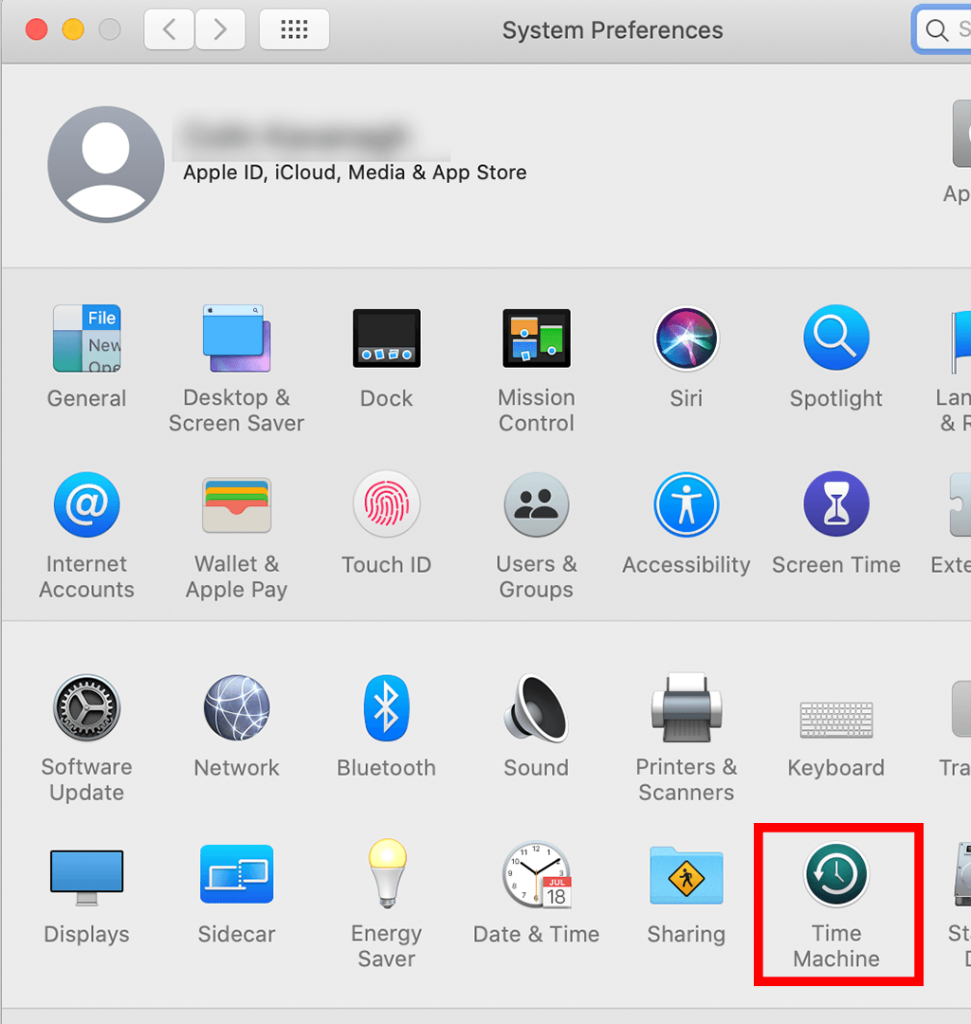
System Preferences->Time Machine
To set up Time Machine, choose System Preferences from the Apple menu, then click the Time Machine icon.
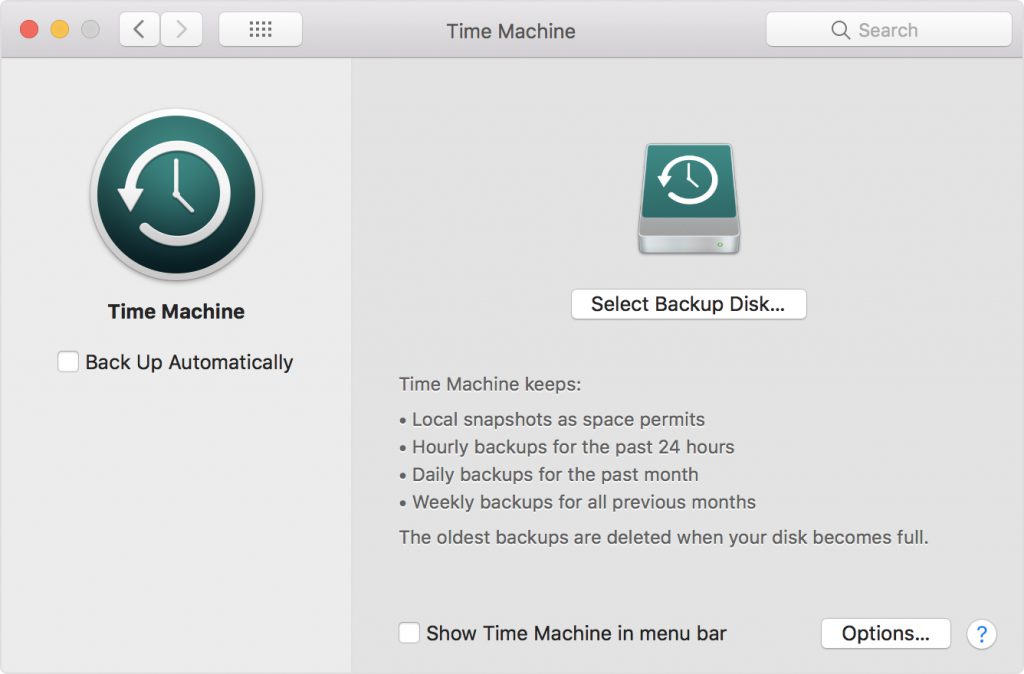
In the Time Machine System Preferences pane, read what it says under, “Time Machine keeps:” to understand what Time Machine does.
Then click the Select Backup Disk button.
A ‘sheet’ will appear, where you can select your hard drive. Ensure you select the correct hard drive, because its contents will be erased!
Once you’ve selected your disk, decide whether you want to Encrypt the backup (see above), before clicking Use Disk.

Then, tick the box that says Show Time Machine in menu bar, at the bottom.

You’ll then see a circle with an arrow in the right hand side of the menu bar, near the date & time. Clicking this menu will provide Time Machine’s status: if it’s in the process of backing up it will indicate how much data it’s backing up. If it’s not backing up, it will indicate when the last backup took place.
When Time Machine backs up the computer for the first time, it can take a very long time indeed. Perhaps 2-8 hours, depending on your setup. After this, as long as the hard drive is connected, it will backup automatically every hour.
| Previous lesson: | Next lesson: |
| Scanning using Image Capture | Software updates |